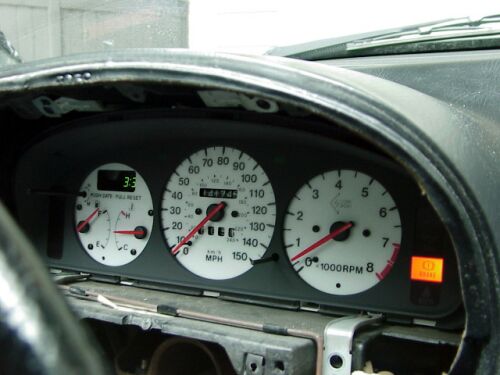
Changing the faces of the instrument cluster gauges is a popular modification with most of the import community. This option is available to us MX-3 owners because of the efforts of SRD and Cork Sport. They offer one of the only gauge face replacement kits available. Unfortunately, it is a difficult, dangerous and nerve-wracking experience to install the new faces because the instruments are so delicate and you are royally screwed if you mess up. A new instrument cluster from Mazda (if you can get one) is $1400. Fortunately, you can find them in the wrecking yards for around $100. I did manage to ruin my temperature and fuel gauges the first time around, but I had acquired an extra last year at a swap meet that I was able to use as a donor.
Step 1: Decide whether or not you really want to do this!
Step 2: Accumulate the following tools and supplies:
-
Philips screwdriver, fine point
- 12 volt DC power source
- l0 ohm and 39 ohm resistor (you can hook up resistors in series to get this total)
- Needle puller (supplied with gauge face)
- Paint, if you want to change the color of your needles
- Full tank of gas
- Tachometer
- A means of 'driving' your car with the wheels in the air (i.e. car lift)
- 12 volt DC power source
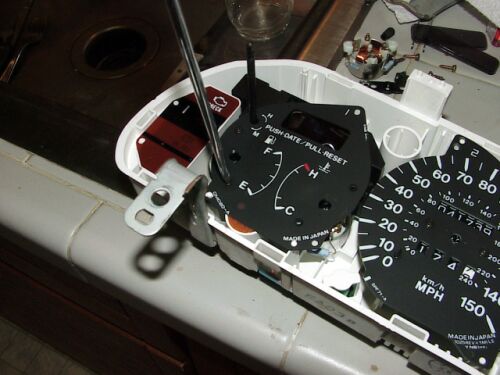
Step 3: Remove IC from dash. This is a fairly straightforward operation.
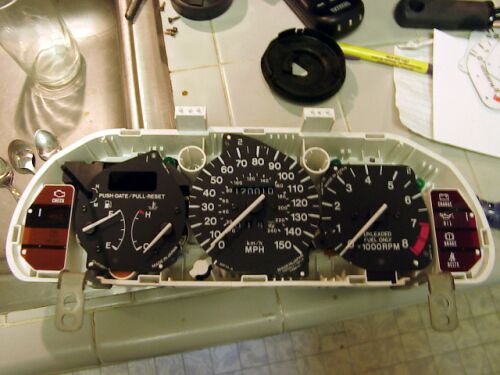
NOTE: Memorize the location of the fuel and temperature (normal operating temp) gauges
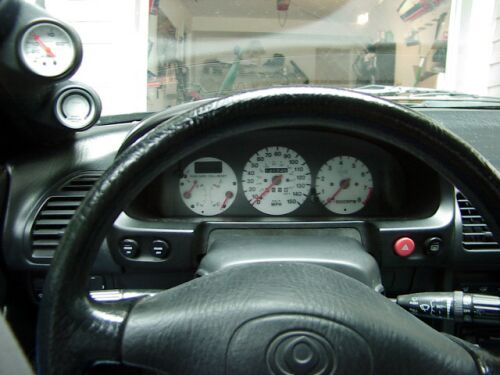
 1. Remove upper steering column panel.
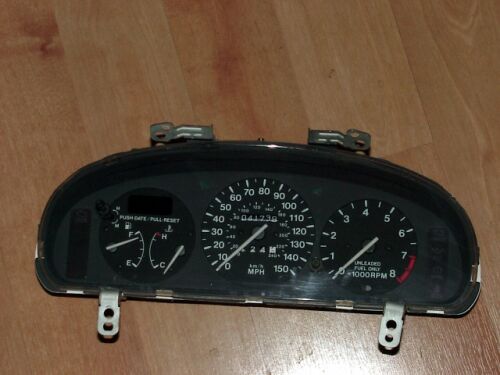 1 Screw and the panel can be popped apart.
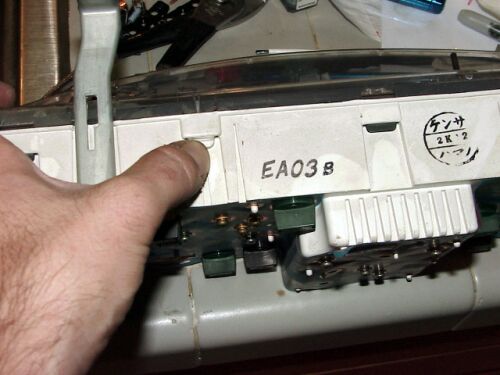
2. Remove IC shroud. 5 Screws. 2 plugs on backside.
3. Remove IC. 4 Screws. 3 large plugs on backside.
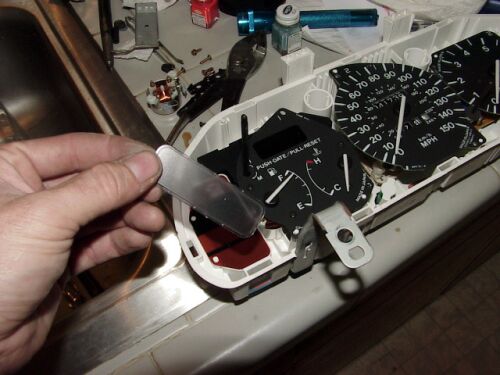
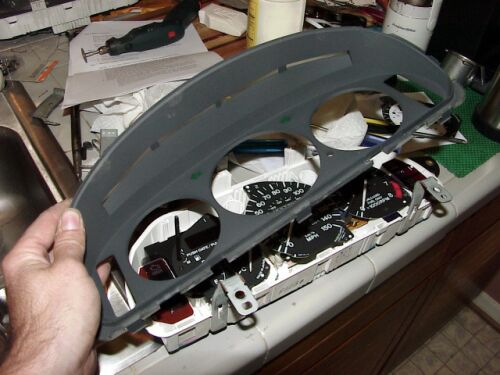
4. Remove plastic shield which guards
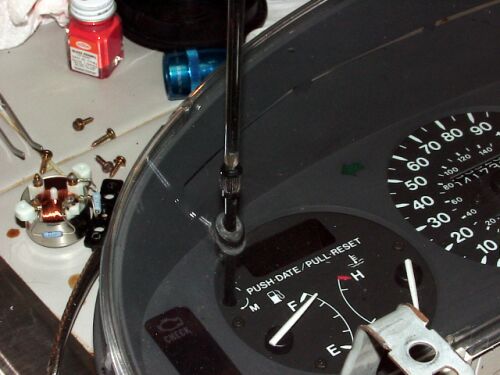 the gauges. 1 very small screw, several
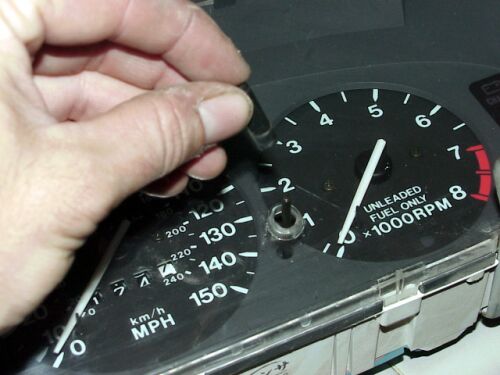 clips
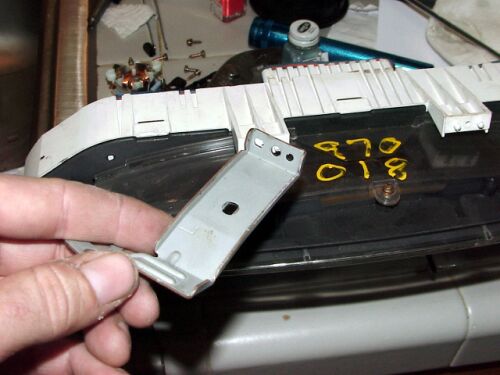
as well as the top mounting brackets. You will find it easier to remove
the shield if you pull off the odometer
button and un-screw the clock control knob.
clips
as well as the top mounting brackets. You will find it easier to remove
the shield if you pull off the odometer
button and un-screw the clock control knob.
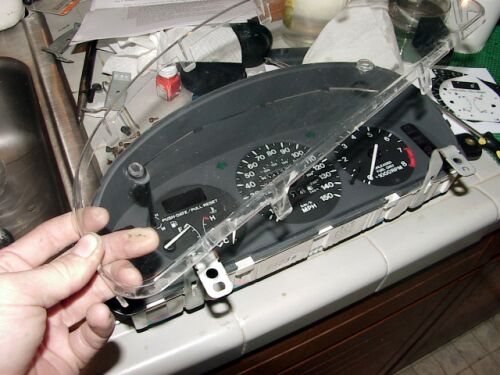
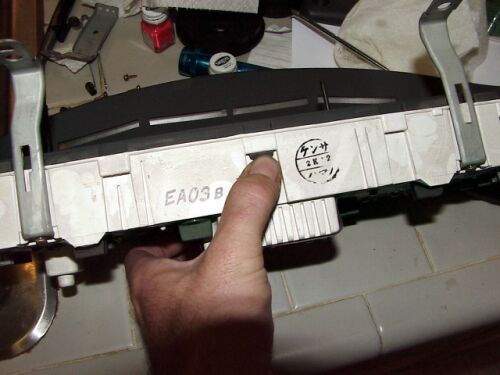
5. Remove the inner carbon colored cover over the gauges.
It is held on by several clips.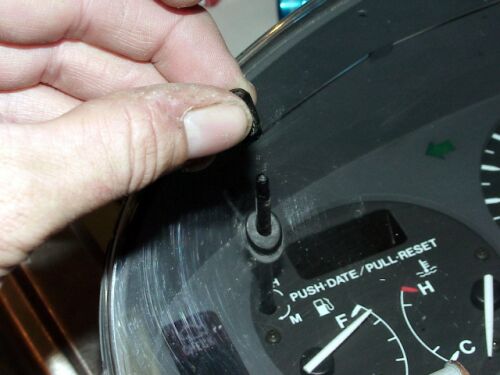 Be careful
 not
to loose the warning light bezels.
not
to loose the warning light bezels.
 |
 |
 |
 |
 |
 |
Step 4: Pre-calibrate the gauges:
1. FUEL k TEMP gaugeS:
a. Attach a 10 ohm resistor between the SEN (labeled F-U) and GND
b. Attach a 39 ohm resistor between the SEN (labeled T-U) and GND
c. Attach positive (+) from 12 volt source to +IG
d. Attach negative (-) from 12 volt source to GND
e. Wait 30 seconds or until the needles stops moving. Take note of both needle locations.
f. Remove + and - from IC
2. SPEEDOMETER AND TACHOMETER:
a. This step will vary depending on the equipment you have to measure RPM. Follow the manufacturers instruction on using your measurement device. Be sure if you use a tachometer like the one in the car already that you attach it to the proper wires. On the V6 model it is the 3" of six wires (from the front of the car) on the top plug of the distributor. This will allow you to calculate the margin of error between the two sources for your engine RPM. Take notes.
On the V6, tachometer input should be connected to the Yellow/Blue or Red wire from the distributor connector,
On the 4 cylinder use the Yellow/Blue wire from the Igniter module or Ignition coil.
Since I already had the LinkAFM installed
(which has a tach), I didn't need to install anything.
Step 5: Remove Needles:

Please note that this is a very critical part of this process. Even the slightest radial pressure could break the needle shaft. Be certain to pull the needle off exactly on the axis of the shaft. You can apply a small amount of heat to soften the needles but be sure not to melt anything!
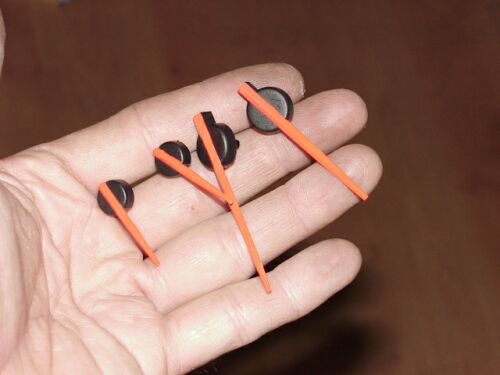
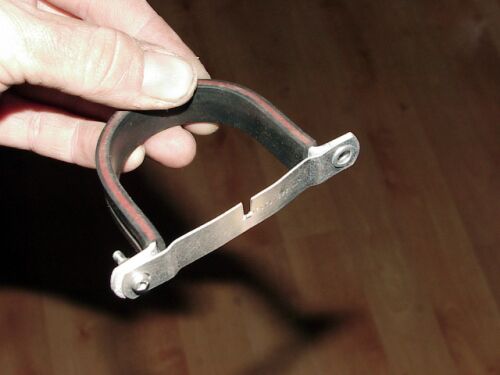 Remove the needles! You will hear a
*SNAP* when the needle comes off. It is OK if the needle happens to come out with the shaft attached.
Remove the needles! You will hear a
*SNAP* when the needle comes off. It is OK if the needle happens to come out with the shaft attached.
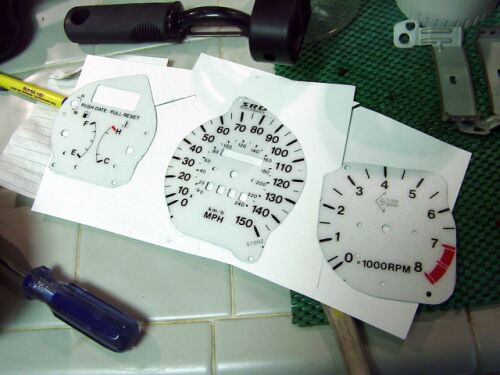
Step 6: Remove old gauge faces and install new set:
 1. Remove the 8 screws which hold the
 original gauge faces onto the gauges.
2, Remove the needle stops on the Speedometer and Tachometer and install them on the new faces.
3. Pull out old faces and reinstall the new set.
4. Reinstall the 8 screws.
 |
 |
 Step
61/2: Have a BIG cup of coffee. The scary part is over.
Yes, I am doing this in my kitchen.
Step
61/2: Have a BIG cup of coffee. The scary part is over.
Yes, I am doing this in my kitchen.
Step 7: Reinstall needles while recalibrating:
NOTE: If you want different color needles do it before progressing further. I
painted mine orange to match my Autometer "Phantom" gauges.
1. Make sure the resistors are still installed as in step 4-la and 4-1b. Reconnect 12V power source as in 4-1c and 4-1d.
2. Wait 30 seconds; then reinstall fuel and temperature needles in their exact 1ocation previous to remova1.
3. Remove resistors. The needles should drop back down. Reinstall resistors. The needles should move smoothly to the proper location. If the needles need further adjustments you can move the needle to the proper location with your
finger while the power is on. If needles fails to move up and down, try inserting them further in. If problem persists, pull the needles off and insert them again. If the needles are pushed-in too far or not far enough, needle
movement can be too slow or impossible (too much friction).
4. Remove resistors and 12V source. You are now done with those two gauges.
5. Speedometer and Tachometer needle reinstallation:
You will need to reconnect the IC to the three plugs
inside the dashboard to perform this step. Do not reinstall the carbon colored or clear plastic panel yet! Start your vehicle. The external source tachometer should show the value for your car's RPM when it s started cold. Rev your car up to 3000 RPM measured by the external RPM display. Reinstall the tachometer needle exactly at the
3000 RPM spot on your gauge. Adjust the needle position by removing and reinstalling the needle as necessary to get the two to display the same reading (keep in mind the margin of error which you determined during
precalibration). It is very important that this is as accurate as possible because you are about to use the tachometer to calibrate your speedometer. If the needle movement seems too slow try using the technique described in section 7-3c. It is now necessary to raise your car off the ground. Be sure that the vehicle will not falter while the tires are spinning. Pull the emergency brake for security. DO NOT SET THE CAR ON CAR JACKS. If the car falls off the jack you will go speeding into whatever happens to be in front of you, "Drive" your car up to 3000 RPM in second gear. Even if it sounds cool, avoid revving the engine above 4000 RPM when engaged in gear to prevent drive shaft and CV joint damage. Then hold the car steady at 3000 RPM and install the speedometer needle exactly at 25 MPH. Take your car out of gear and gently apply the brakes. "Drive" again up to 3000 RPM. Your speedometer should read 25 MPH. Pull off the needle and reinstall as necessary until you have achieved your desired accuracy. Be sure any possible discrepancy between your actual and displayed speed is on the high side. If you can only get to within 2 mph of the goal make sure you are 2 mph over the target. Again, If the needle movement seems too slow try using the
technique described in section 7-3. Finally you have the needles reinstalled!!!
Step 8: Reinstall cluster in dashboard:
Generally the reinstallation of the IC is the reverse of removal.
1. Reinstall carbon colored gauge panel
2. Reinstall clear gauge panel cover
3. Be sure that if any of the screws on the backside of the IC were loosened they are snug.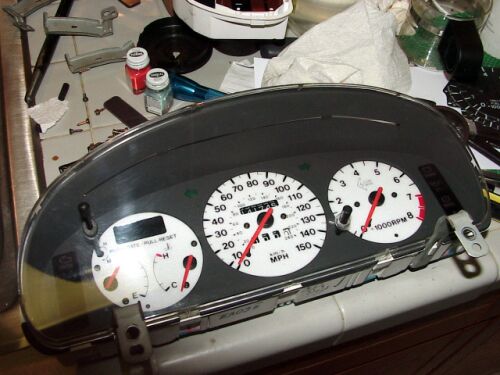
NOTE: If you want to change the IC light color this is a great time to do it. There are six lights labeled
"ILLUMI" on the backside of the IC. For increased night time illumination, green sleeves can be removed from the
"ILLUMI" bulbs.
4. Plug in the three plugs on the backside of the IC and screw it back into the dash.
 5. Reinstall the IC shroud with the two plugs.
6. Reinstall the upper steering column cover.
Step 9: YOU'RE FINISHED!!!